Green and gold white hot cocoa bombs are so easy to make, beautifully eye-catching, and come together in 15 minutes!
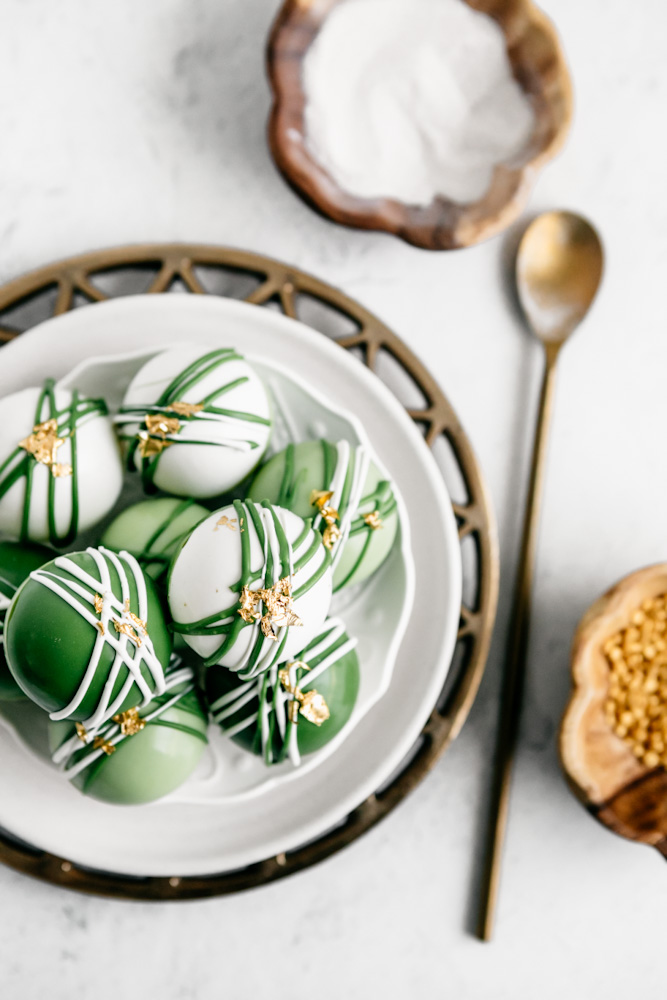
Excuse the quite obvious and somewhat groan-worthy pun, but these are truly the bomb. 😉 Made with simple ingredients like pre-colored candy melts, white cocoa powder, and gold sprinkles, they are quick, easy, and totally festive. These St Patrick’s Day Hot Cocoa Bombs are delicious as well, and you can customize them to your hearts content.
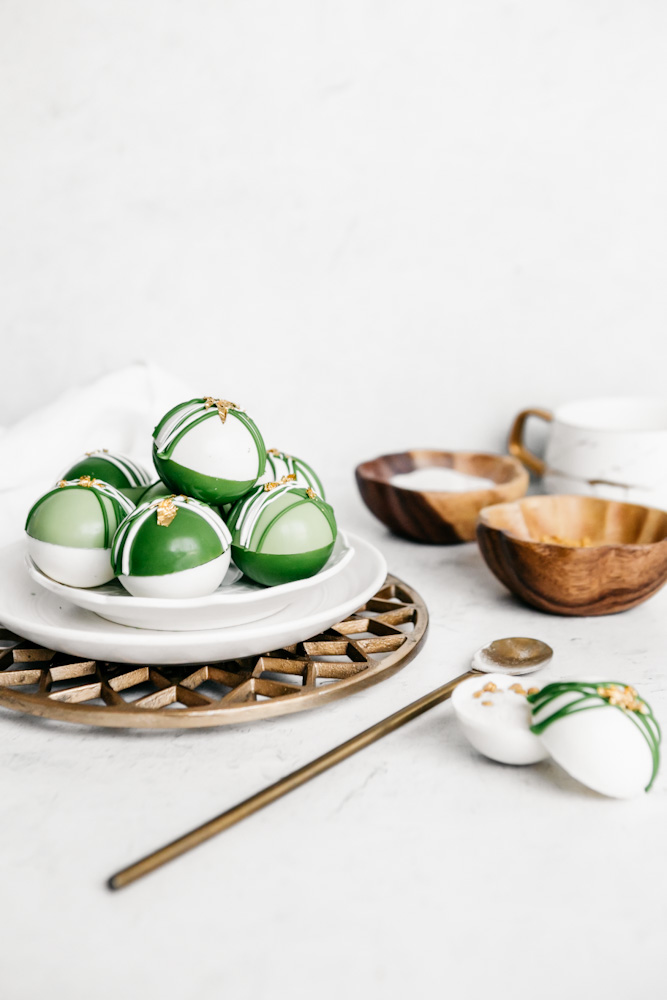
What you’ll need to make these St Patrick’s Day hot cocoa bombs:
Candy Melts ( I chose Bright Green, Light Green, and Bright White for these bombs)
Edible Gold Leaf (optional)
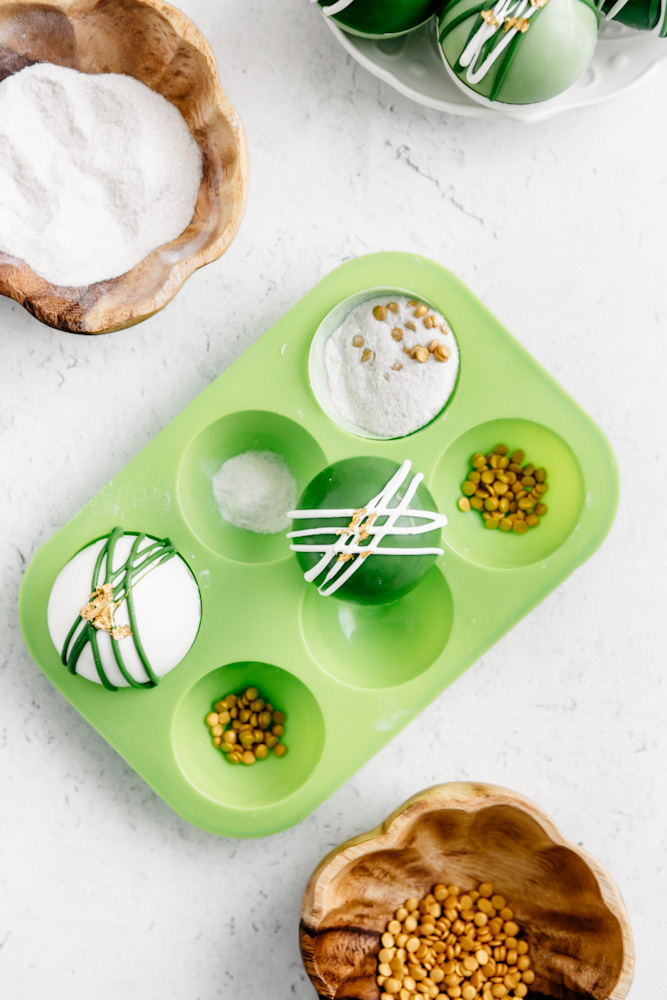
The Mold
This mold is inexpensive, and I highly recommend getting an actual cocoa bomb mold because they are extremely pliable so that the shell comes out quite easily and with little effort. I tried using a stiffer round mold made for ice cubes a few months back, and it was a disaster. They crumbed upon contact. Trust me when I say, you want the mold as bendable as possible.
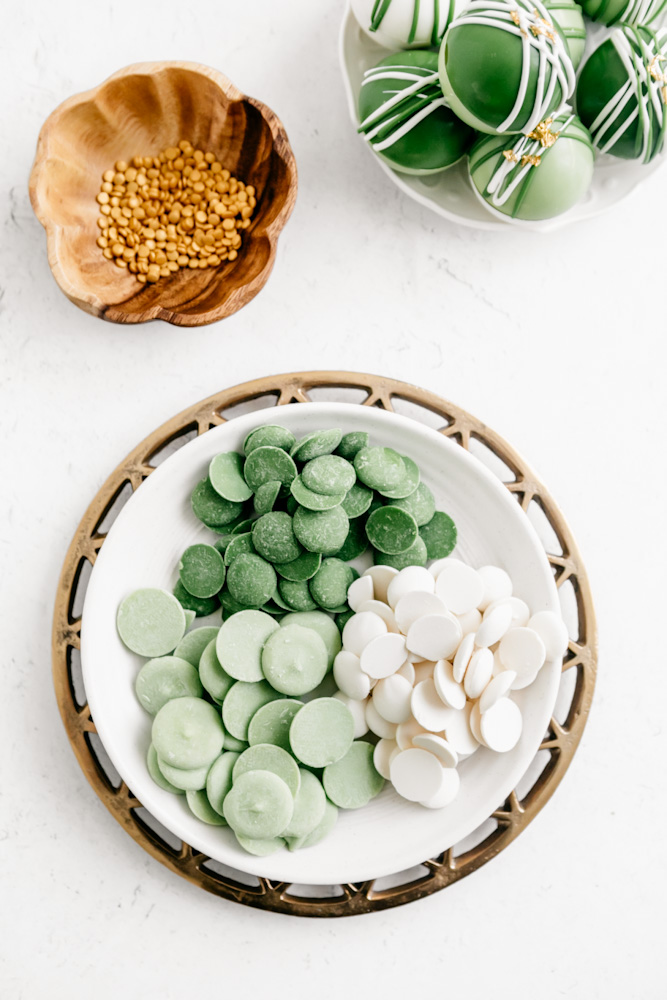
The Melts
I used Wilton pre-colored candy melts to make this project quick and easy, but if you prefer the taste of white chocolate, you can absolutely melt that instead and color it with some gel food coloring. The bombs will look virtually identical, as I’ve used white chocolate before and it works wonderfully. You could also use semi-sweet, milk, or dark chocolate as well, and add some green sprinkles if you prefer to minimize the food coloring! Really any meltable candy or chocolate that rehardens will be fine to use.
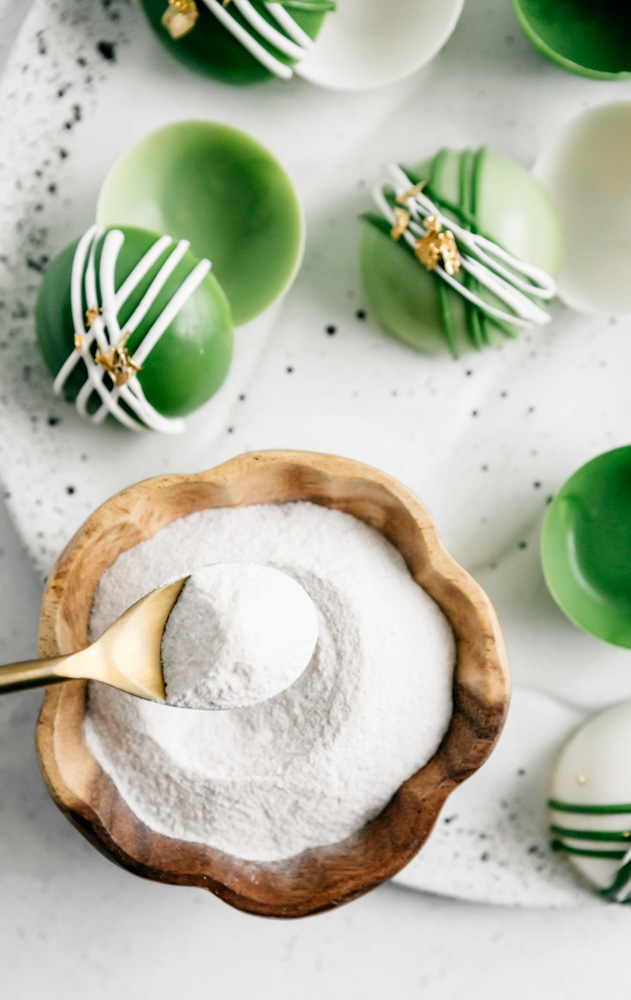
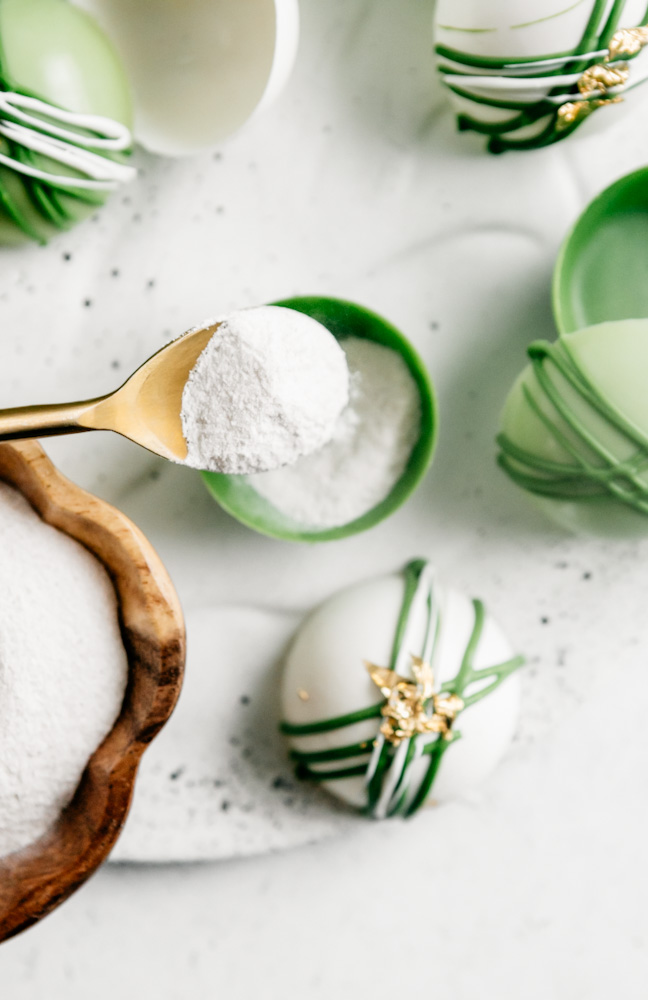
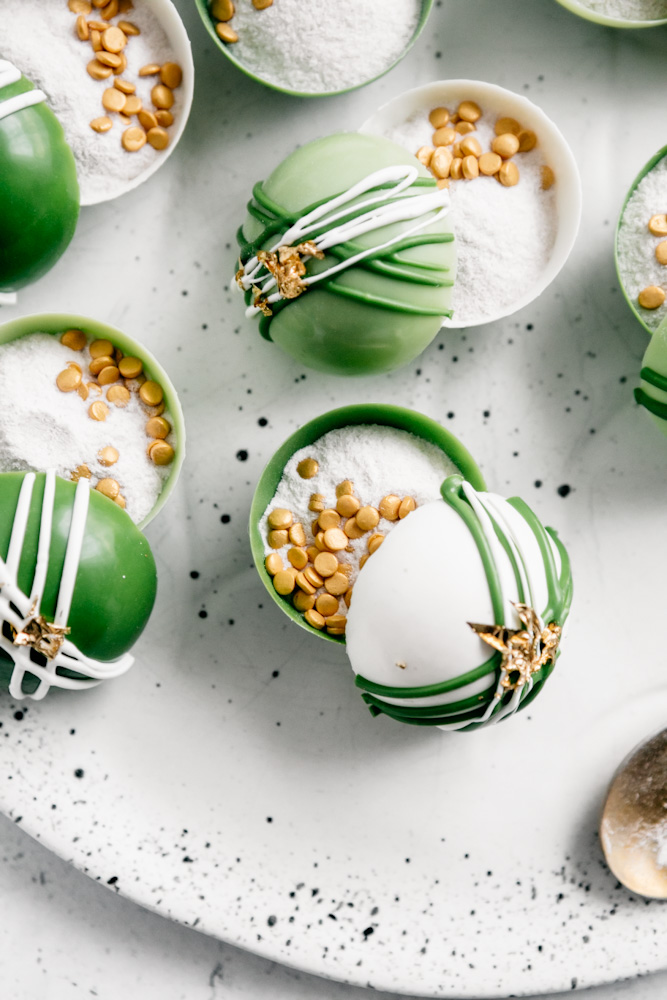
Putting it All Together
This is the fun part. You will want to melt your candy melts according to the instructions on the back of the package. I generally put mine in a glass bowl because I feel like it melts more evenly, but you can use any microwave safe bowl that you have. If you have enough molds, melt each color, one right after the other, in separate bowls. If you only have one mold like I do, melt one color at a time, fill the mold, let that set harden (I popped mine into the freezer to speed the process up), and then repeat after you empty, wash, and dry the mold (to ensure color doesn’t remain on the mold from the previous batch).
To fill the molds, I spoon about a teaspoon of melted chocolate or candy into each shell, and use the back of the spoon to gently push it up the edges, stopping at the top. Now this won’t always come out perfect. Sometimes there will be small cracks, or tiny parts that didn’t get filled to the top. That is ok! The important part is that you have fun and they will taste great even if they aren’t flawless. The candy melts harden fairly quickly, a few minutes in the freezer was plenty of time. Remove the shells and flip them over onto a parchment lined cookie sheet. To pipe some additional color onto the tops, grab a few small piping bags and fill with remainder of candy melts. You might need to pop the bowl back into the microwave for 30 seconds to loosen any parts that have hardened if you are working with multiple batches and only one mold. Pour candy melts into piping bags, and cut a tiny bit of the tip off. The larger the cut, the larger the candy swipes will be on top of your bombs. My advice is to always start with a small cut, because you can make it bigger but you can’t make it smaller!
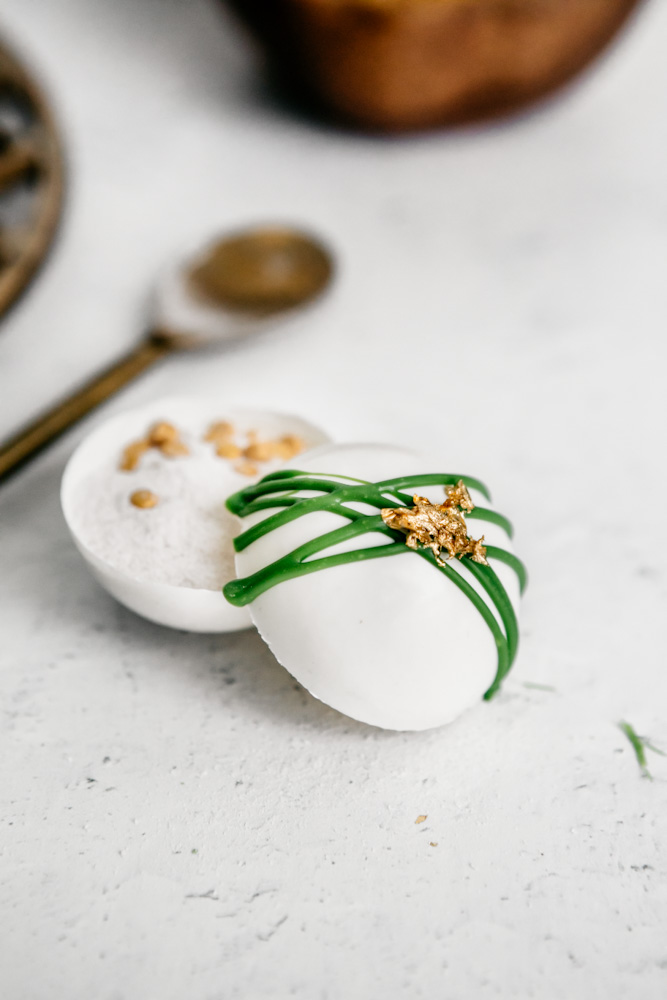
Pipe any additional color onto half of your bombs (the other half with serve as the bottoms), and top with edible gold leaf decor if desired. Let the tops harden. Fill the bottoms with white chocolate powder, or other cocoa powder of choice. Add any other fillers that you’d like, such as sprinkles or mini marshmallows.
To seal the bombs, run a small flat plate under hot water until the plate is warm. Shake off the excess water in the sink, and gently lay the top bomb onto the dish, swirling it around until it becomes slightly melty. This should only take about 5-10 seconds per top. Gently place the top onto a filled bottom, and press to seal. Allow to harden completely before plating, a few minutes should do. Repeat running the plate under hot water if you need to warm it up again, and repeat with remaining bombs until they are all sealed.
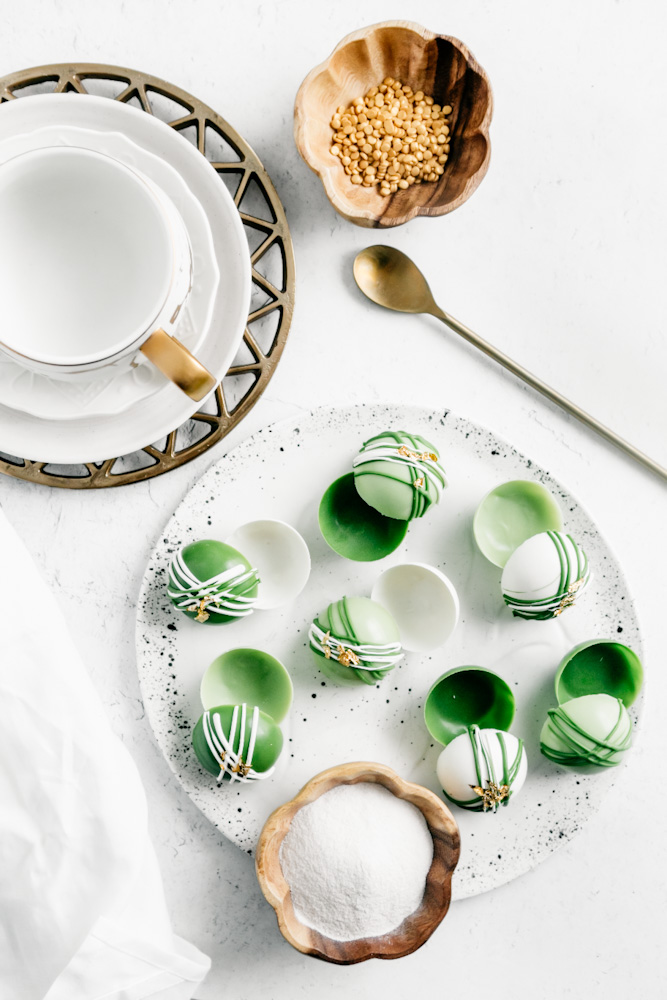
Dropping the Bomb
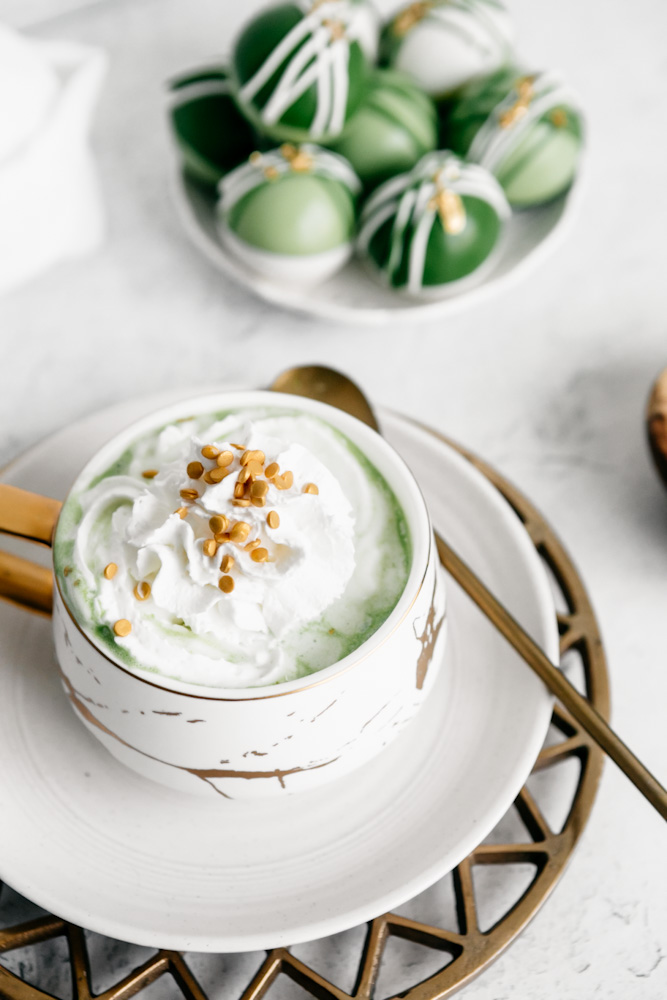
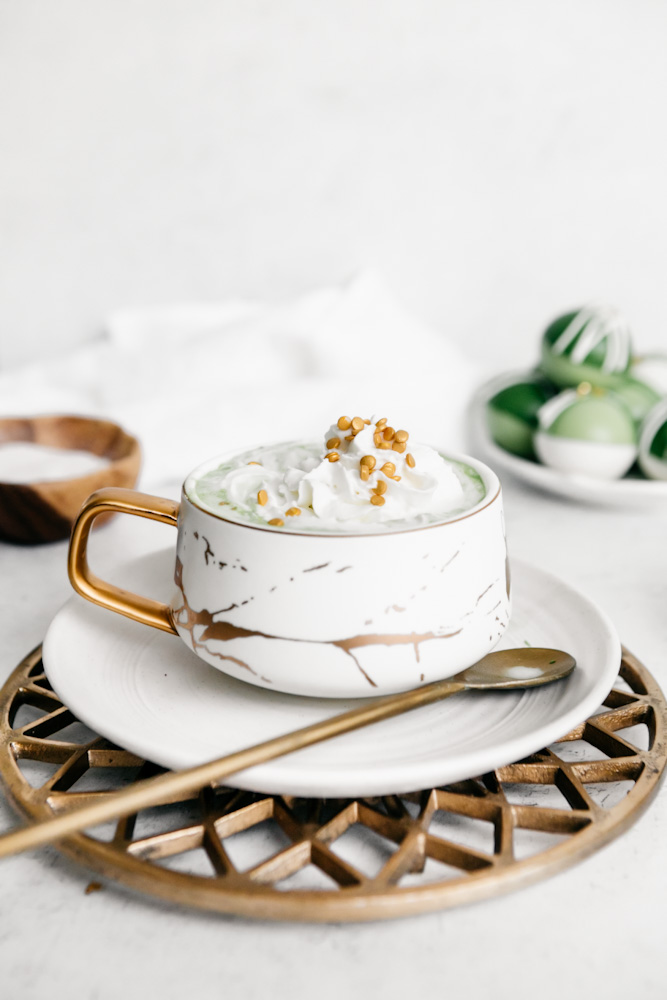
To use these bombs, simply heat milk of choice until hot, being careful of any splatter. Place a hot cocoa bomb into a mug of hot milk, and stir until completely dissolved. Top with whipped cream + sprinkles and enjoy!
As always, tag me if you make them!
#HHBBAKES
XO (and Happy St Pattys!),
Heather 💚
St Patrick’s Day Hot Cocoa Bombs
Ingredients
- Wilton Candy Melts in Bright Green, Light Green, and Bright White
- White Chocolate Powder
- Gold sprinkles
- Silicone Mold
Instructions
- The amount of each ingredient depends on how many cocoa bombs you want to make. I melted about ⅔ cup of each color to get the 9 cocoa bombs I made (each mold with 6 caverns makes 3 bombs, so I did 3 molds worth, one mold in each of the 3 colors).
- Melt candy according to package.
- Spoon about a teaspoon of candy into mold, and using the back of the spoon, gently work the candy up to the top edge of each cavern.
- Allow candy to harden. I put mine in the freezer to speed this process up, a few minutes was enough.
- Empty, wash and dry mold, and repeat with as many colors as you choose to use.
- Fill half of the hardened molds with cocoa powder of choice.
- After running a small flat plate under hot water and shaking the excess off, gently place the top mold seam side down and rotate on the warm plate to slightly melt the edge. 5-10 seconds should be enough time for it to melt. Place top onto a filled bottom, and press down gently until secure. Allow candy to reharden, a few minutes.
- Drop cocoa bomb carefully into hot milk of choice, and top with whipped cream and sprinkles if desired. Enjoy!

Leave a Comment